Perhaps, but not if I can’t get the visuals fixed …

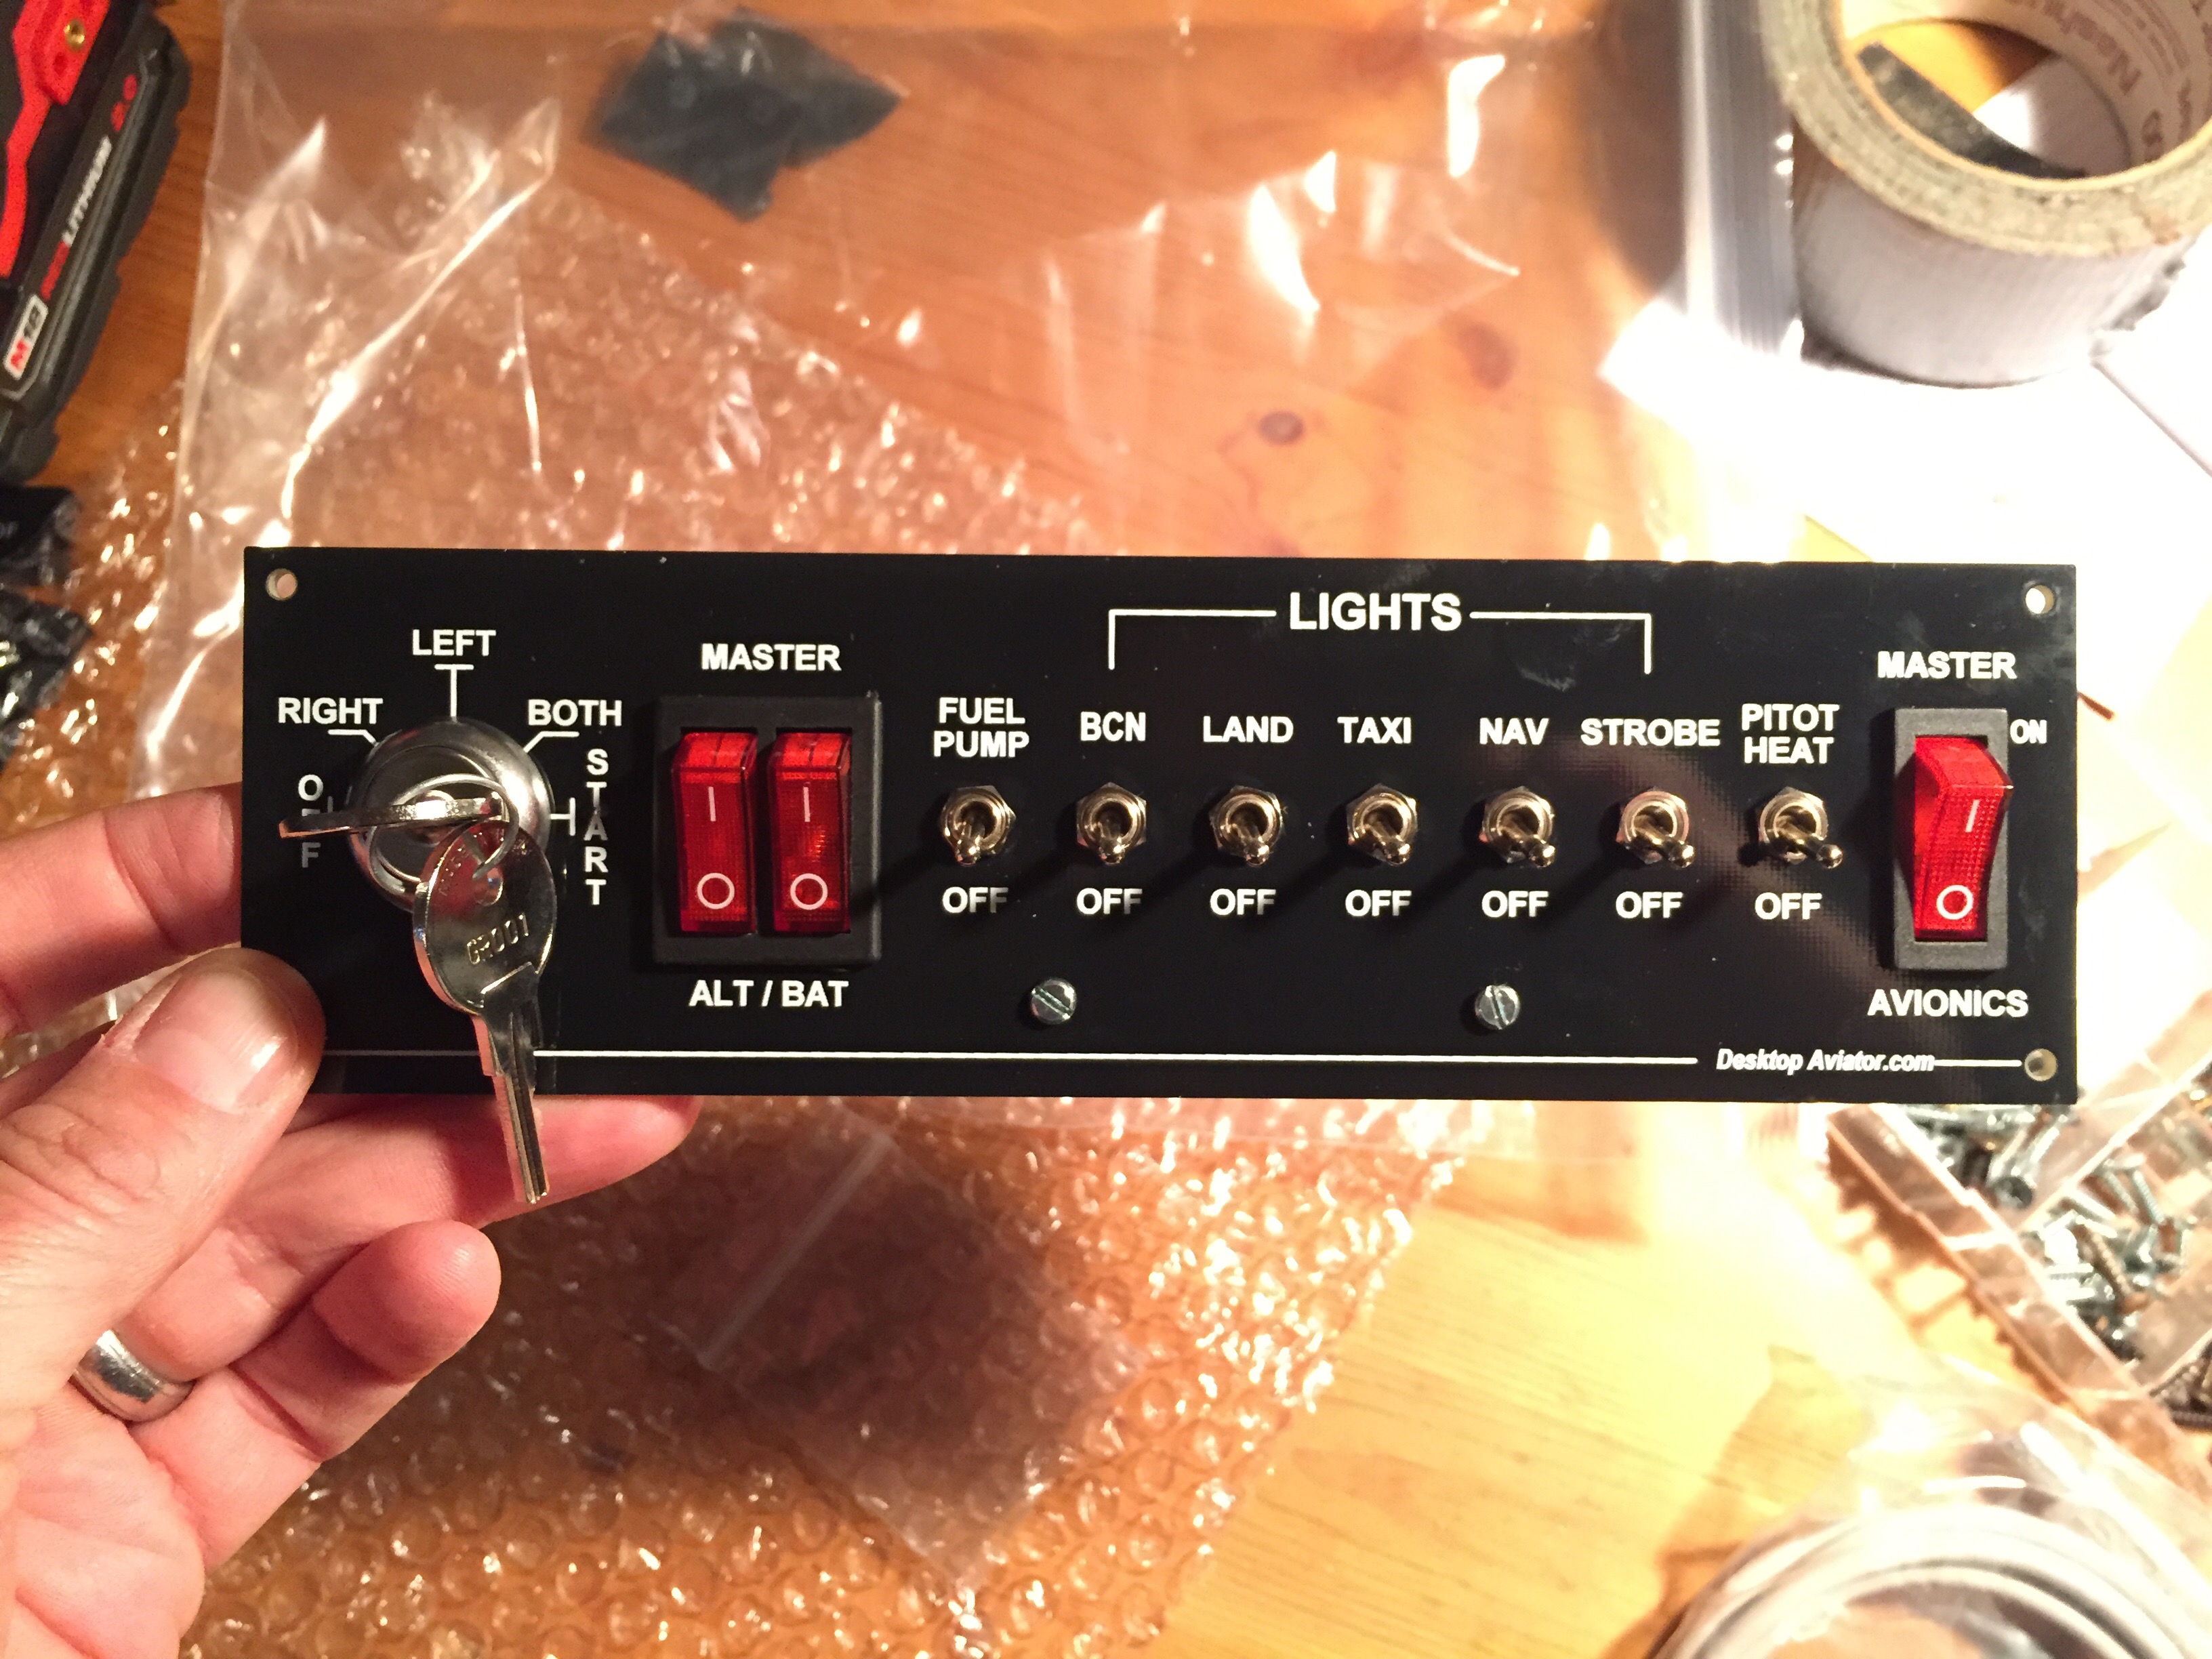
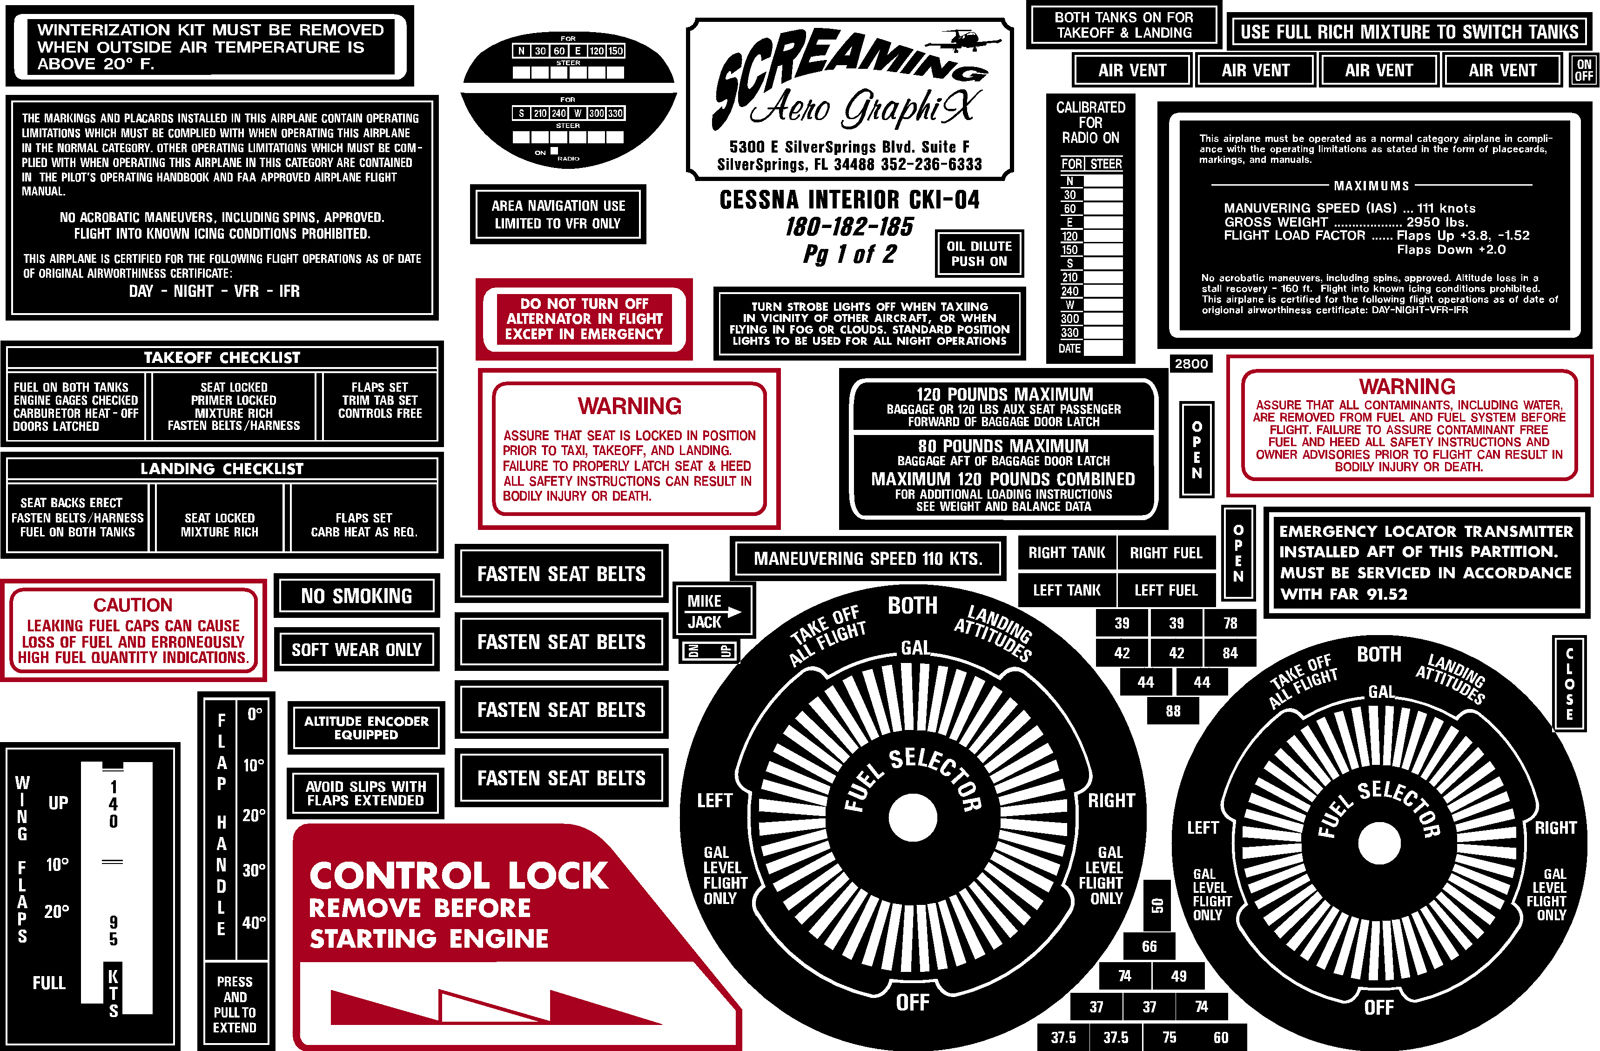
I get that question often, with people wondering where I came across the very real-world-looking placards and stickers that I have on the dash, the throttle quadrant, and elsewhere. The answer is Screaming Aero Graphics, which sells interior and exterior placard sticker kits for a large variety of aircraft. I purchased mine on eBay, but they have since opened a full-service website where they sell all sorts of aviation decals (including striping, registration numbers, and more).
I purchased the Cessna 182 kit, and it was easy to use. Just peel and stick, and where a sticker didn’t quite fit my panel (like the flap detents on the throttle quadrant) I just trimmed it. Easy. Service was quick and correct and pricing was fair. Check them out.
That was the point of yesterday’s real world lesson. In ground reference maneuvers you learn to fly a consistent shape over the ground – circles, s-turns across a road, rectangles – as practice for keeping the airplane on a consistent ground track when flying the traffic pattern. We actually tackled this earlier in my training, but we didn’t really spend a lot of time on it so we used yesterday’s consistent easterly winds as a reason for a brush up. Which is good, because the last time I did these I was not so good at them.
The trick in these maneuvers is to vary your bank angle and heading in the air so you fly a consistent pattern over the ground. Think of it: if you fly in a circle with a steady wind from one direction, you will actually fly a spiral pattern as the wind blows you over the ground. So the key to flying a steady ground track is to bank steeply when you are with the wind and not as steeply when you are into it.
Here’s the track for part of yesterday’s flight, most of which was spent on a ground maneuver not surprisingly called “turns around a point.” There are a few “s-turns across a road” in there as well, as are the wind vectors (the thin yellow lines) which show the easterly wind. I did much better yesterday than a few months back. If you want to review the flight, follow this link.
You can practice these in the sim, too. I did some of that in this video, and may shoot another as well.

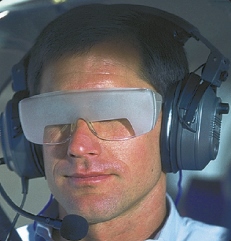
I was back in the real airplane today for the first time since November 14, thanks to a pattern of high winds that led to three cancelled flight lessons. But today was great for learning, with slight turbulence and crosswinds of about seven knots. The curriculum for today was to take off, climb to 2,500 feet, and then track the Modena VOR 350 radial like we were going somewhere. Then it was time for “hood work,” which means flying wearing Foggles, which are glasses that make it so you can only see the instruments and not outside the airplane (also called working “under the hood”). The plan was to practice some turns and climbs, slow flight, and a power-off stall under the hood, and then practice unusual attitude recoveries. To do the latter the CFI had me fly with my eyes closed until the plane was too far nose up, nose down, or banked, at which point he’d tell me to open my eyes, look at the instruments, and correct. Then we did more extreme attitude recoveries, in which the CFI took the controls and had me close my eyes and put my head down, at which point he got us into extreme banks, always with either a nose-up or nose-down attitude, at which point he’d tell me to open my eyes, look at the instruments, and correct.
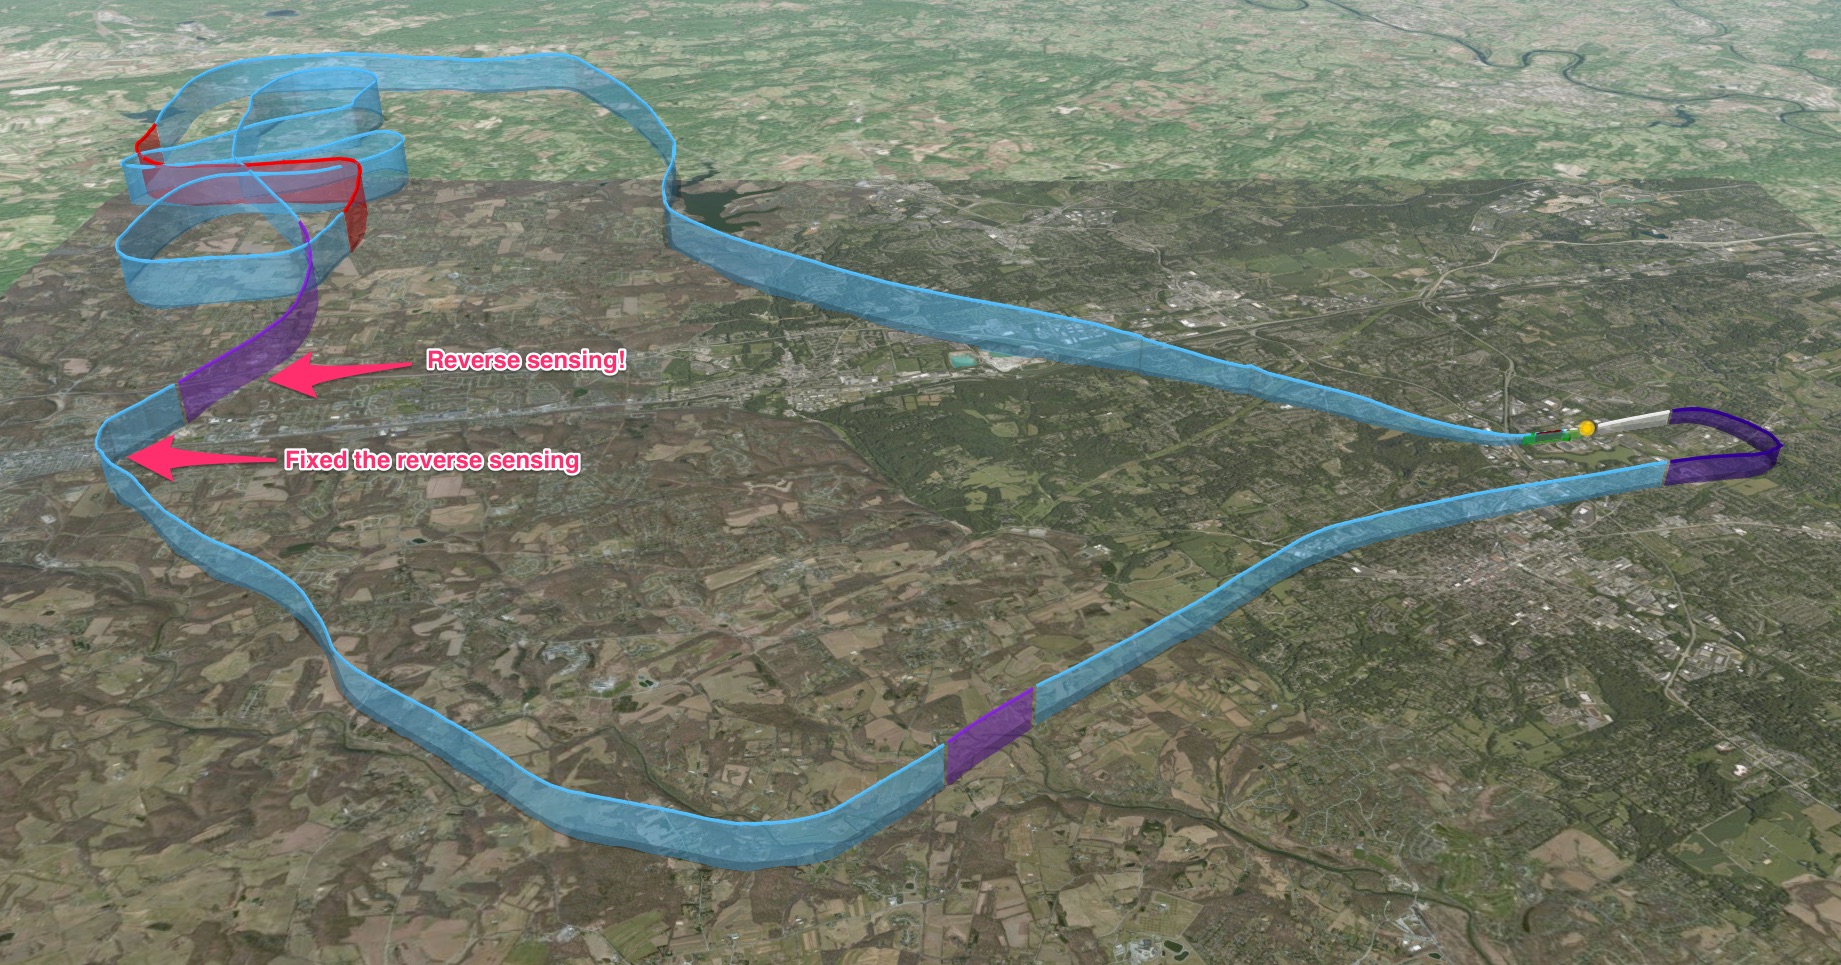
Then we simulated what I’d do if I’d flown into instrument conditions as a low-hour pilot (and while still under the hood). First step was to call ATC to ask for advisories and vectors back to the field (and out of the imagined clouds). The instructor played ATC in this case, with me making the calls and him giving the directions. We managed to get back to the Modena VOR, which is about five miles from the home field, but not before I made the mistake of “reverse sensing,” meaning I was tracking the needle “OUT” rather than “IN,” which meant I kept flying away from rather than to the desired radial. This made the instructor very happy, as he did not need to artificially explain this navigation mistake. I was happy to have helped him out. Once we were at Modena I took off the Foggles and we entered the pattern for a crosswind landing (which went very well).
All in all it was excellent practice. The air was a bit turbulent, with up and down drafts testing my ability to keep a level altitude under the hood. I felt like I was working and learning the entire time, and I could tell it had been a while since the last lesson, but all the stuff that is supposed to be comfortable by this point (takeoff, slow flight, stall recovery, flying the pattern, radio work) was, and the crosswind landing was very solid. I was pleased, and I’m eager for the next lesson (set for next week, but with possible weather intervening).
Here is the CloudAhoy map of the flight. Follow this link to see the route and replay it if you’re interested in doing so.
If you’re looking to use your Saitek panels with the A2A Comanche, you’re going to need to create some custom assignments in SPAD.neXt. The LVAR variable list will help an awful lot on this, and you may find it here.
UPDATE: And there’s a very informative A2A forum post on the topic here.
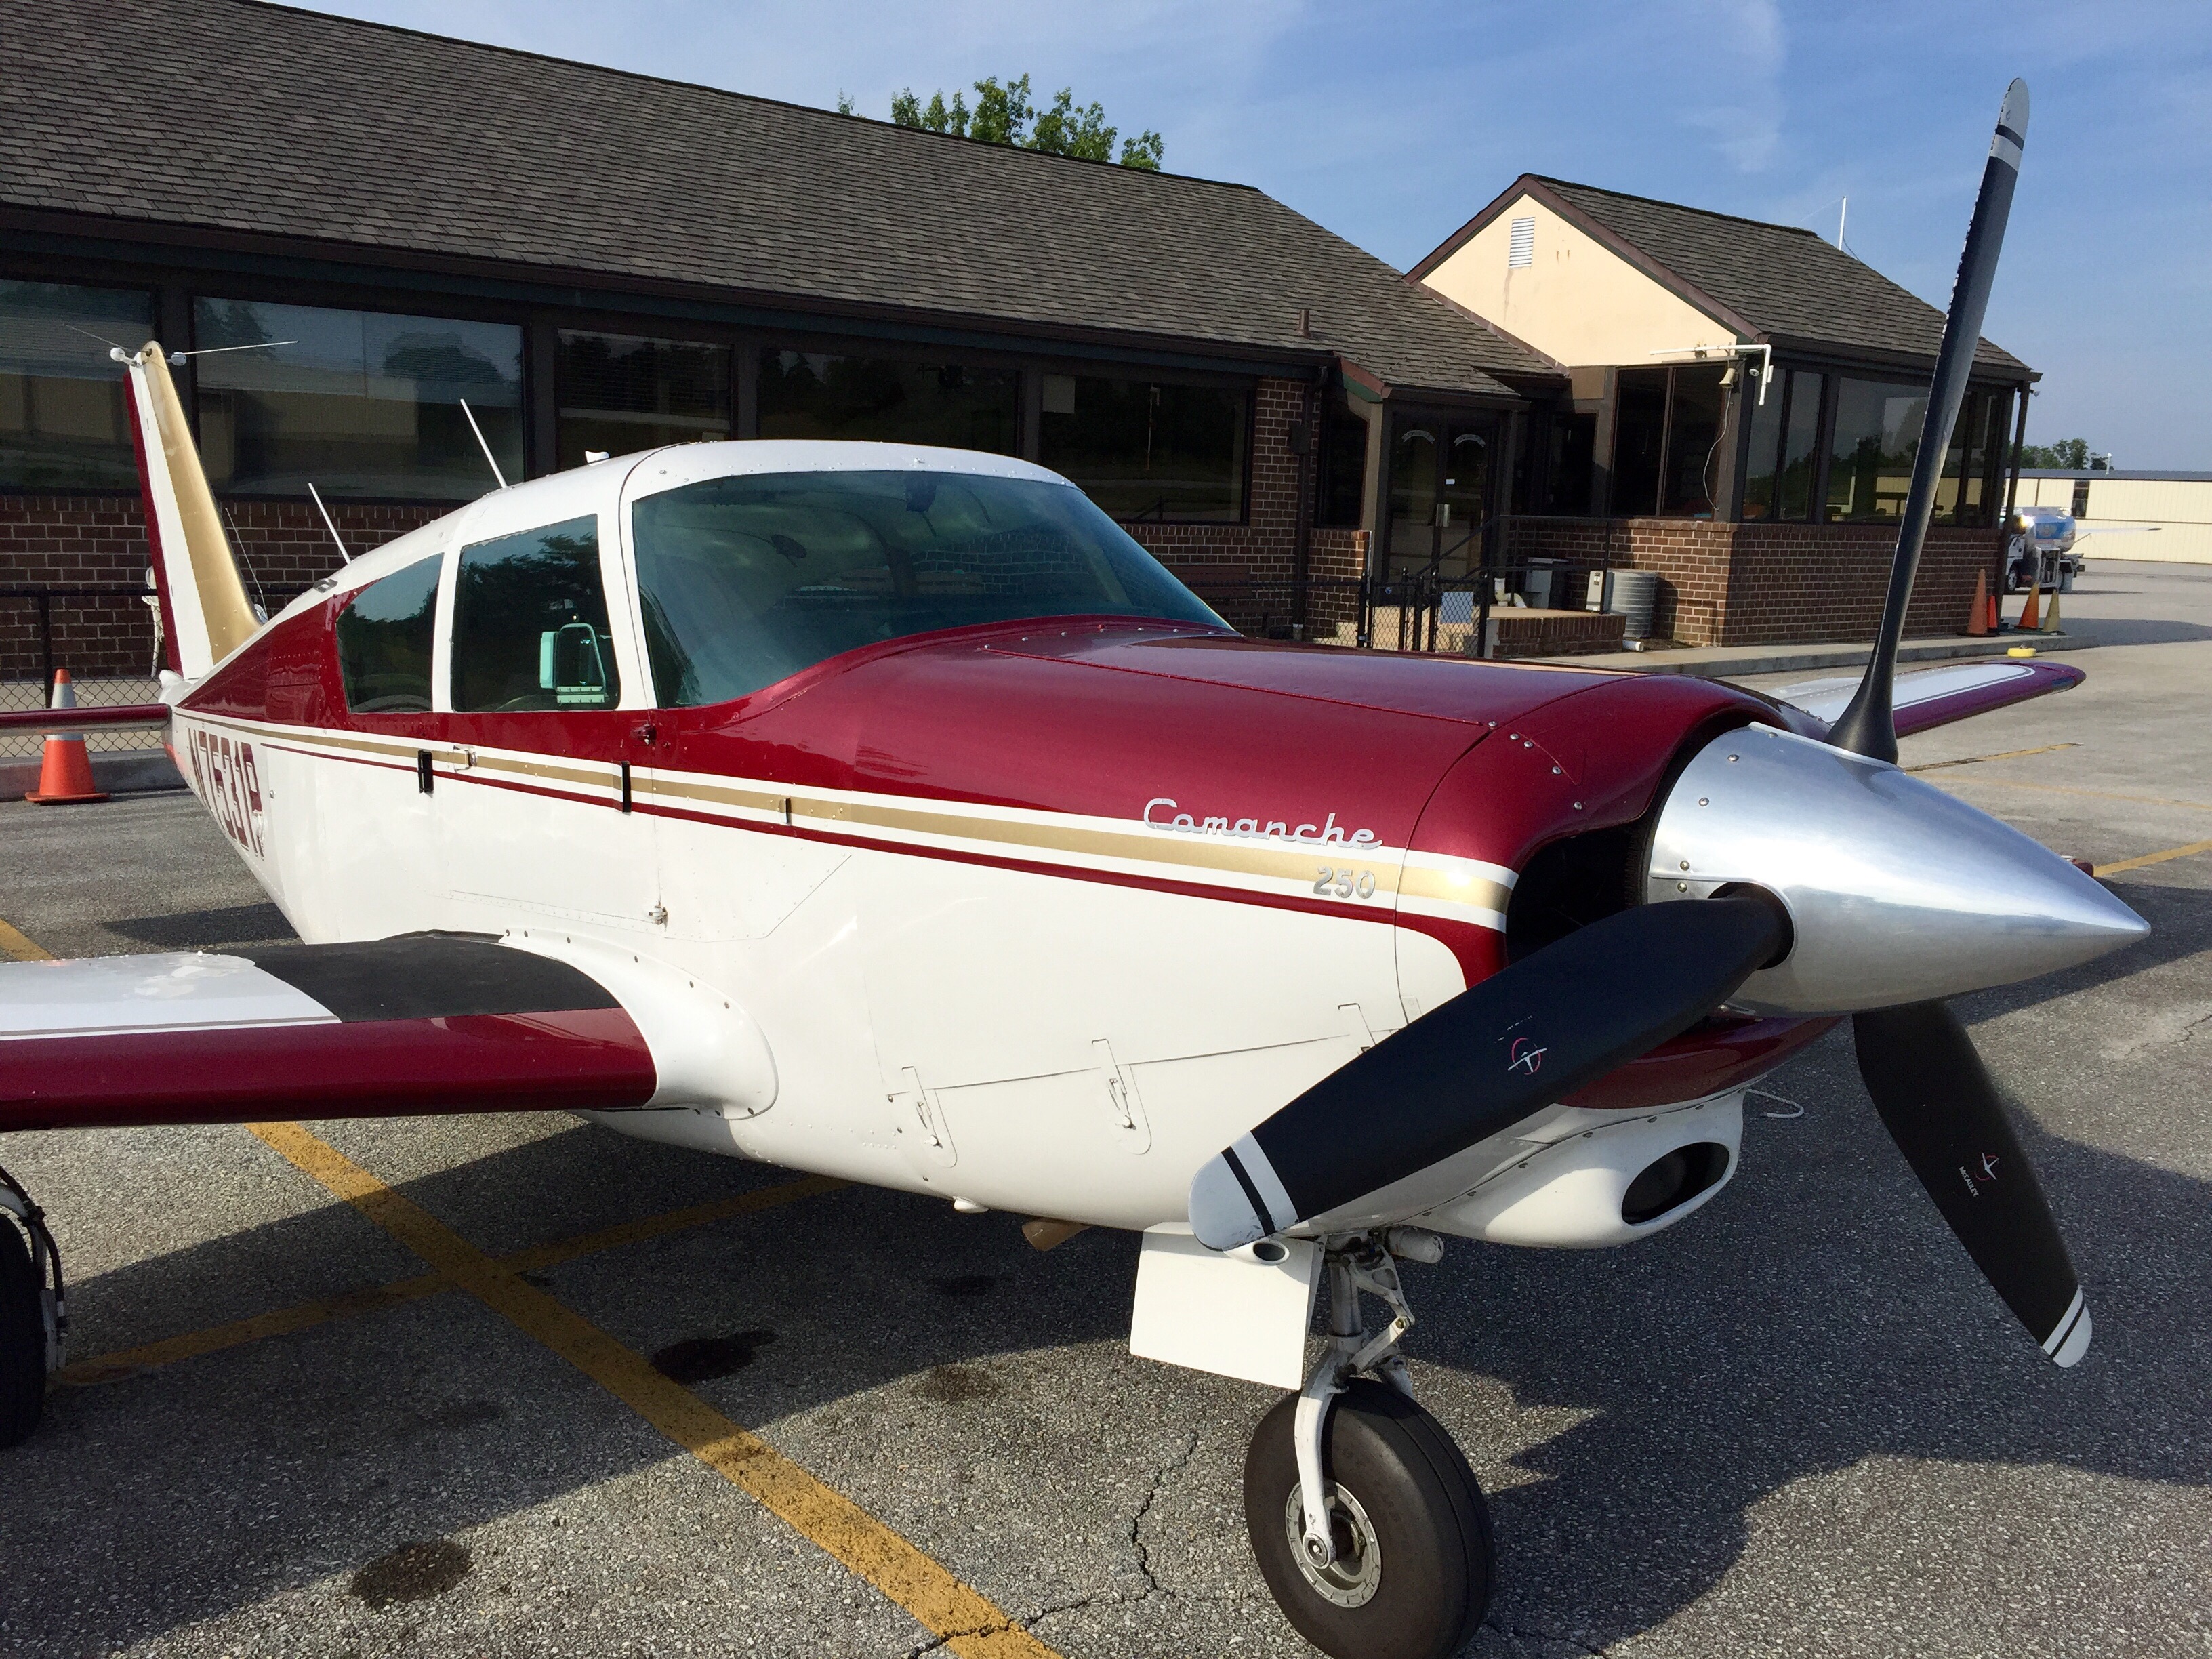
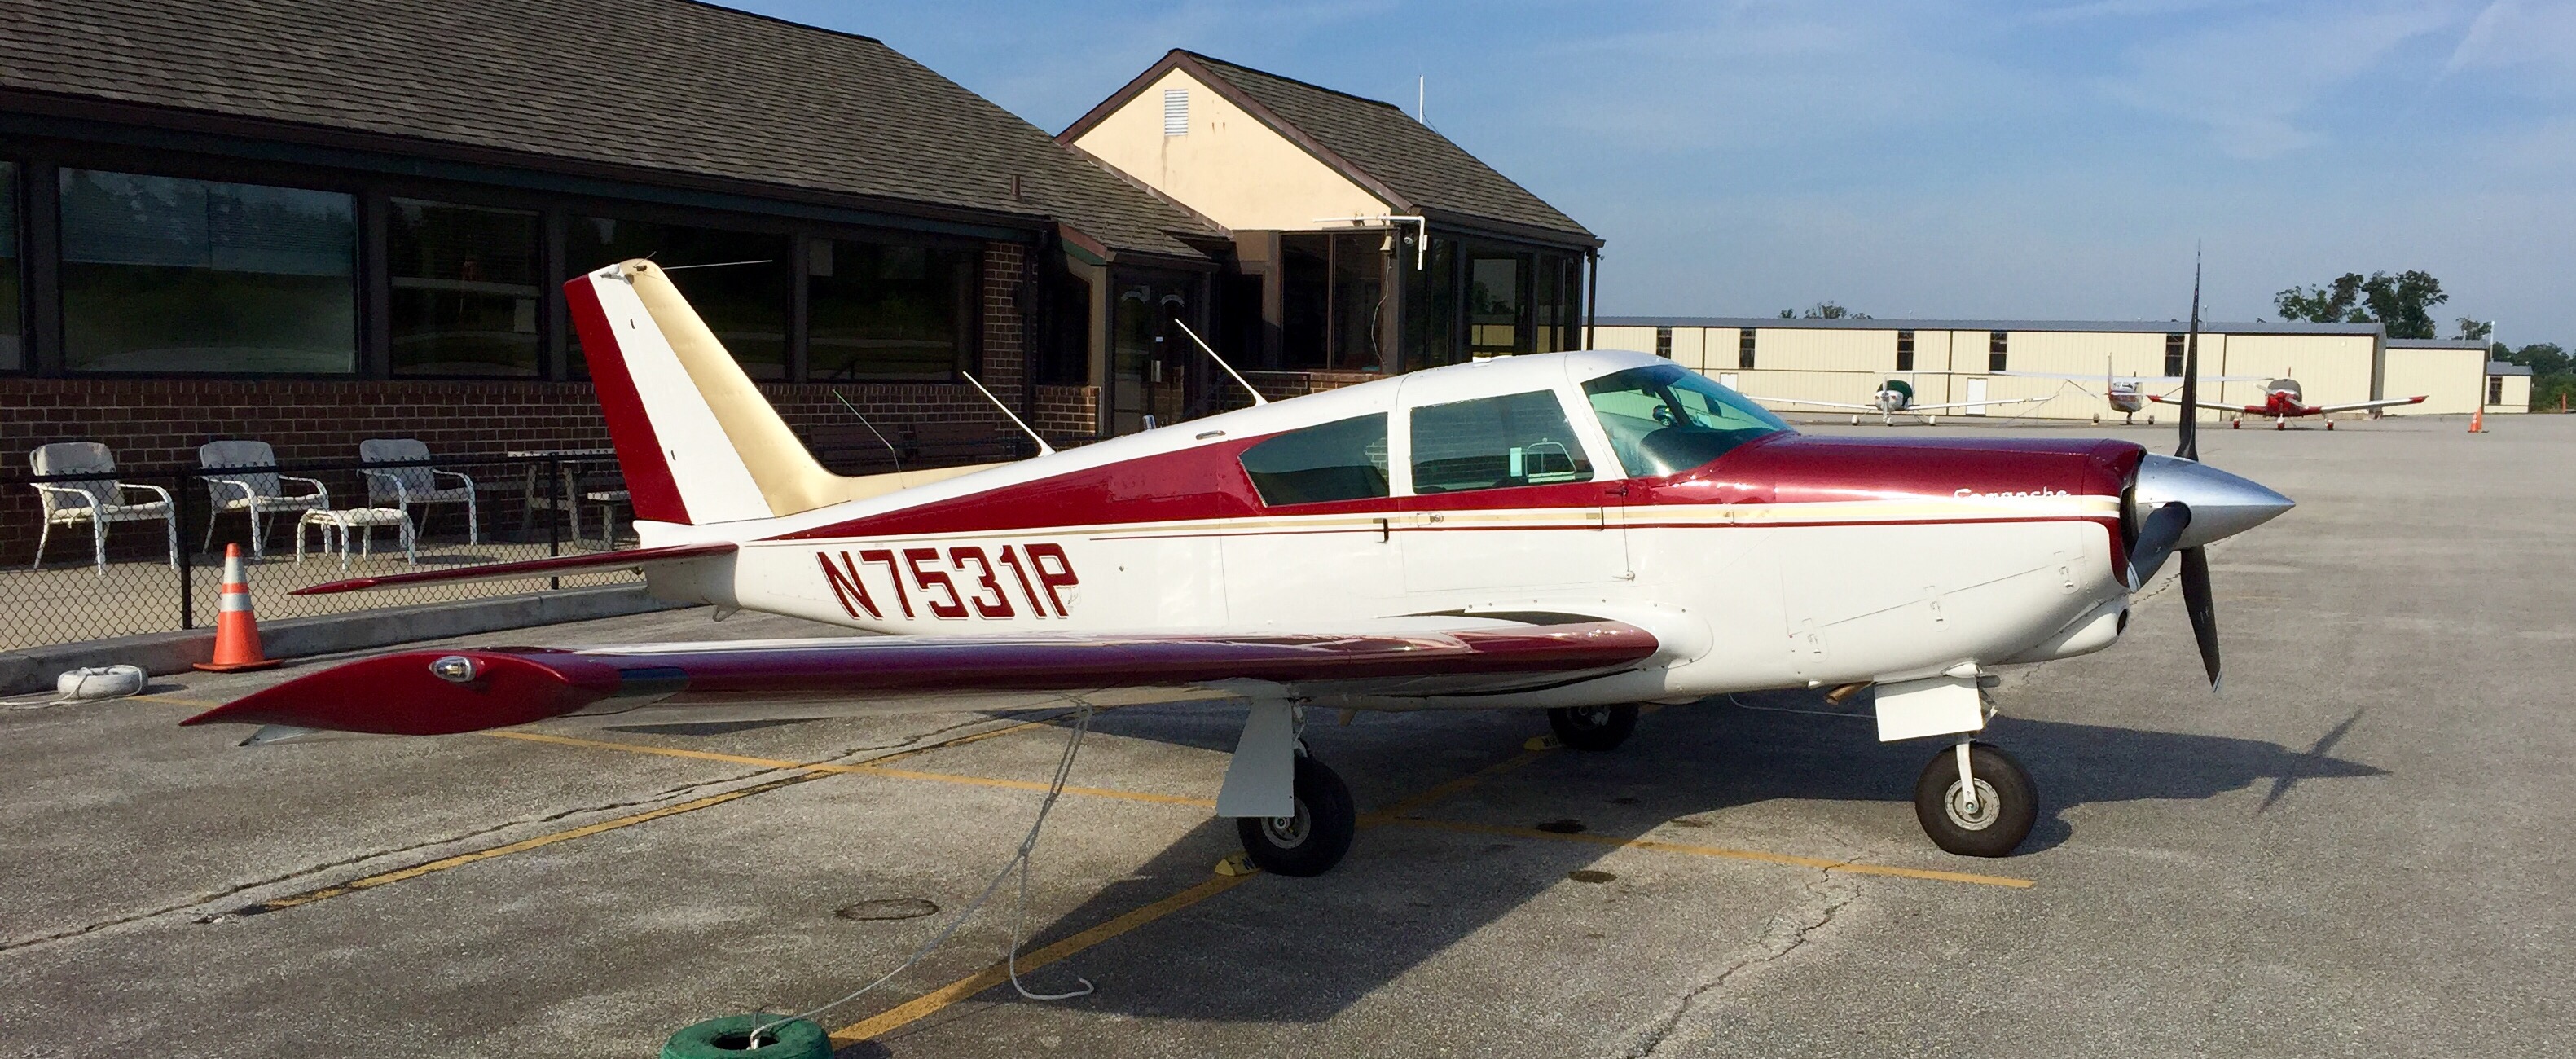
One of my favorite GA aircraft is the Piper Comanche. I bumped into this beauty on the ramp this Summer, and I’ve loved this airframe since.
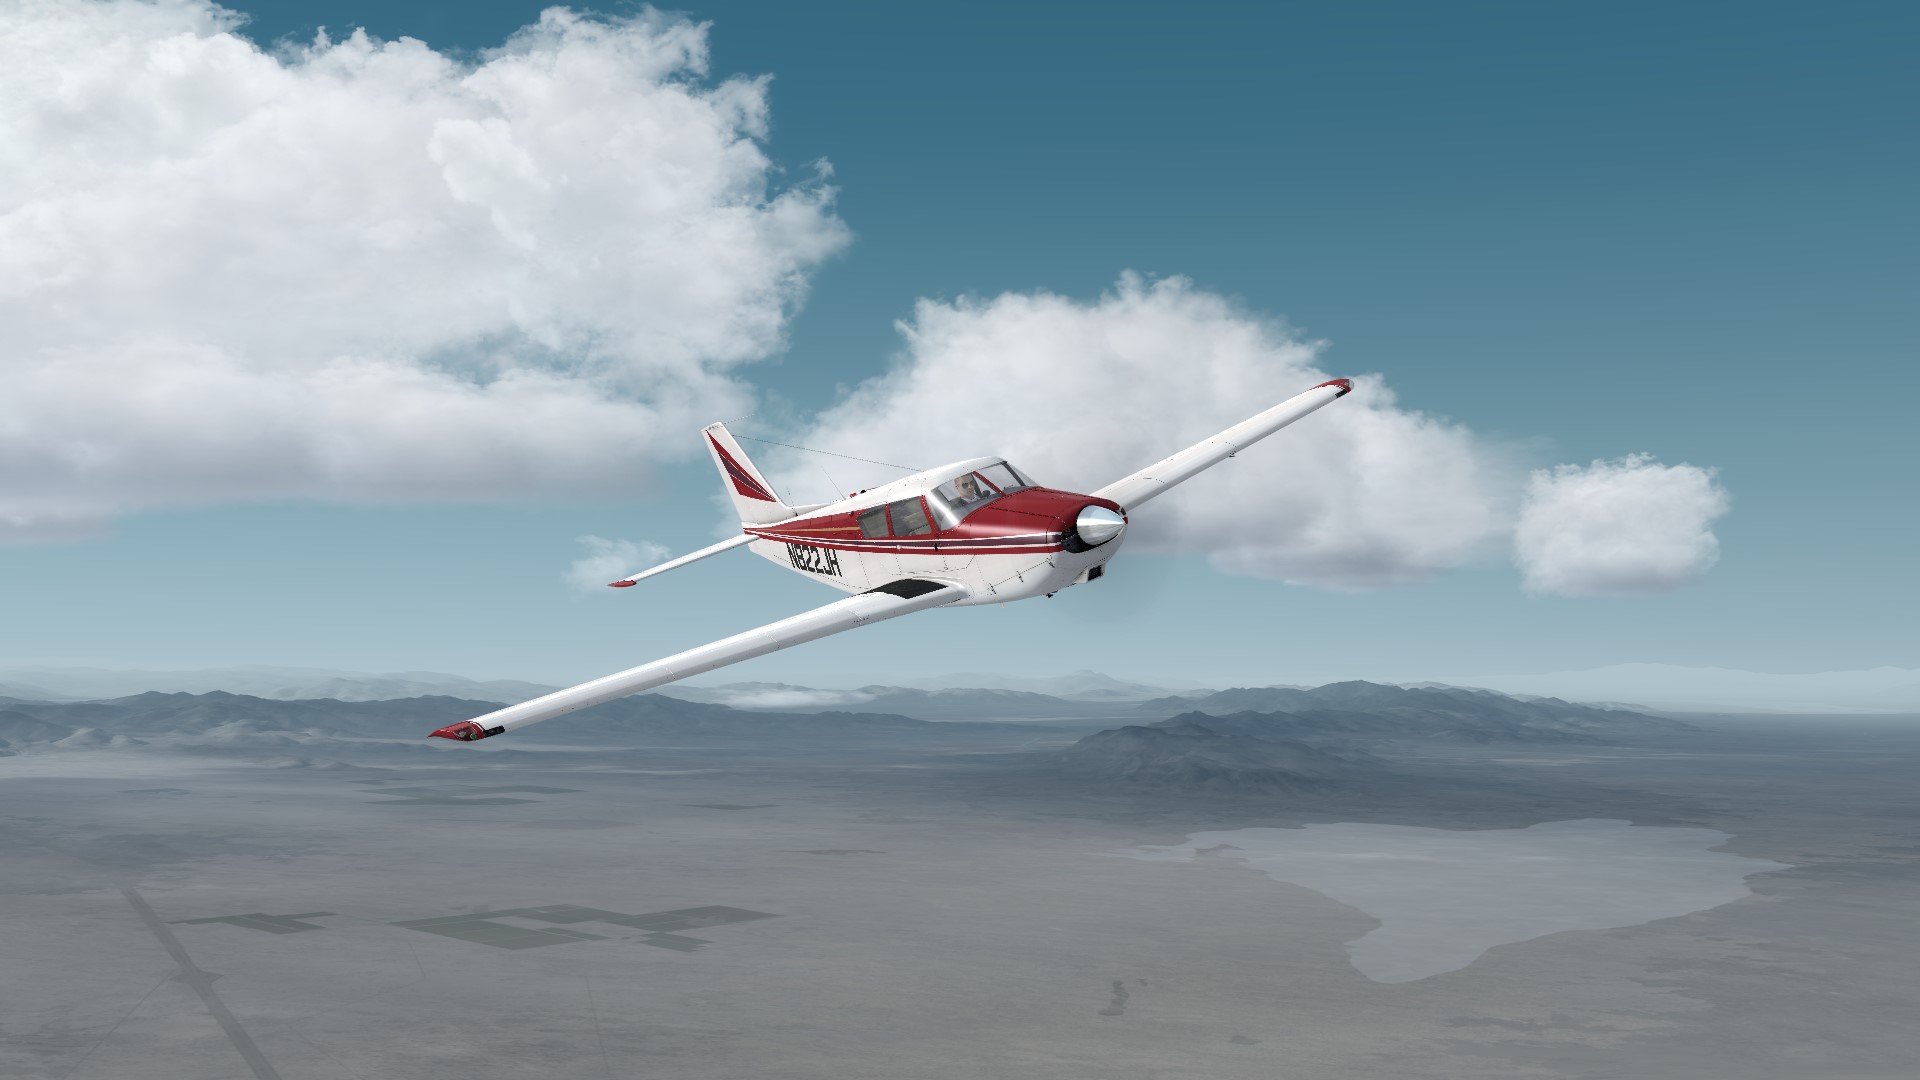
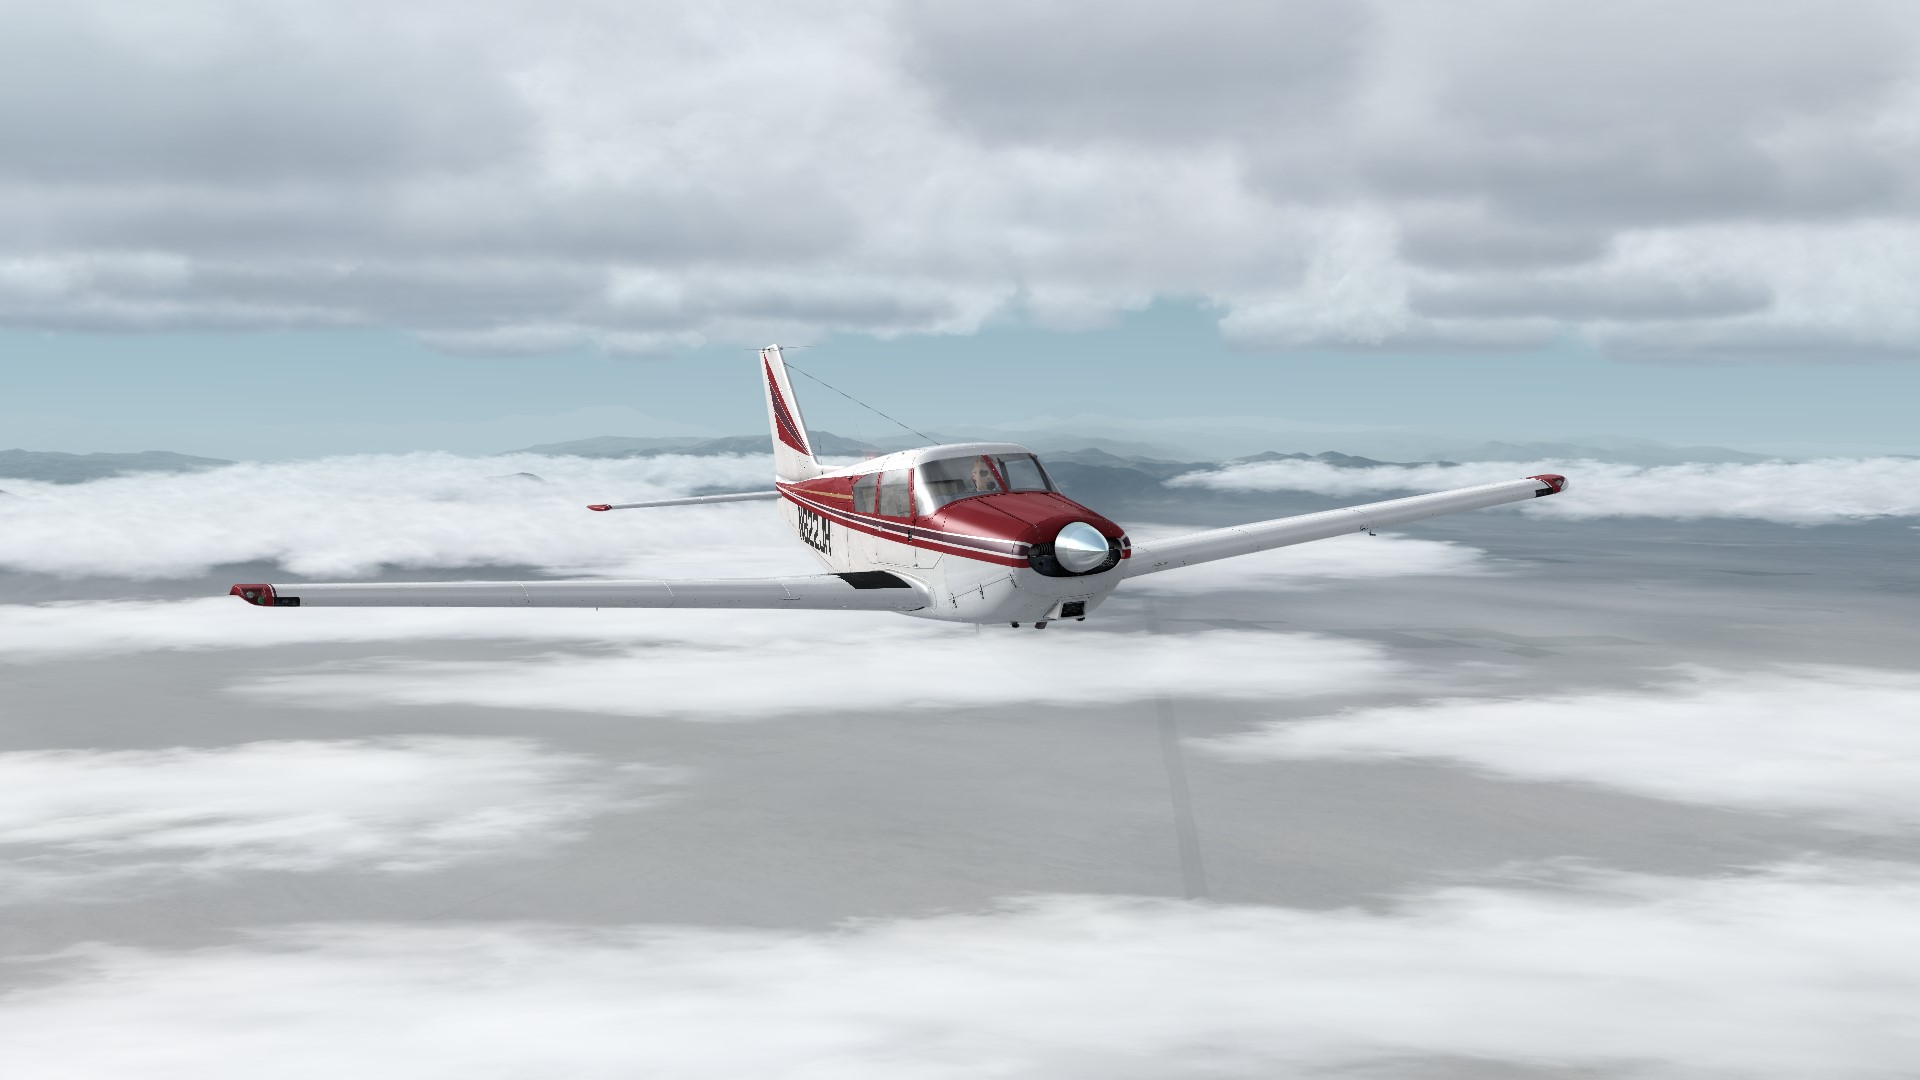
So I’ve coveted the A2A Comanche 250 as well, but never pulled the trigger on the purchase until today. I’m getting better at handling more powerful aircraft in the sim, and for long Alphabet Challenge flights have been using a Cirrus or the Cardinal, but the Comanche fits the bill perfectly. And in the sim at least, it’s fun to fly – although it’s a lot of power to bleed off in approach, thats for sure.
Here are some screen caps from the first PE flight earlier this evening. There’s a repaint out there very close to the real thing above, and I’ll be finding it this weekend, I think.


So I downloaded the demo and spent some time working with it today. First reactions …
So variable eye locations become a future option, XP11 holds promise for me. Otherwise, unfortunately, it probably does not.