Home › Forums › Construction › Control Panel Screws
-
AuthorPosts
-
April 4, 2017 at 6:41 am #2394
Chris Jones
Participant
Deprecated: Function wp_make_content_images_responsive is deprecated since version 5.5.0! Use wp_filter_content_tags() instead. in /home/anelson/domains/ontheglideslope.net/public_html/wp-includes/functions.php on line 5414
Hi BFG, Please can you tell me what screws did you use to attach the Control Panel to the shelf? Did you use glue as well? What screws did you use to fix the FIPs and other instrument panels to the Control Panel? Thanks
April 4, 2017 at 4:24 pm #2404Brian Hedrick
Participant
Deprecated: Function wp_make_content_images_responsive is deprecated since version 5.5.0! Use wp_filter_content_tags() instead. in /home/anelson/domains/ontheglideslope.net/public_html/wp-includes/functions.php on line 5414
Thanks for asking this question Chris. I’ve been meaning to ask the same thing.
April 7, 2017 at 3:11 pm #2420Basement Fly Guy
Keymaster
Deprecated: Function wp_make_content_images_responsive is deprecated since version 5.5.0! Use wp_filter_content_tags() instead. in /home/anelson/domains/ontheglideslope.net/public_html/wp-includes/functions.php on line 5414
Hi guys. From the forthcoming book. Hope it helps. BFG
***
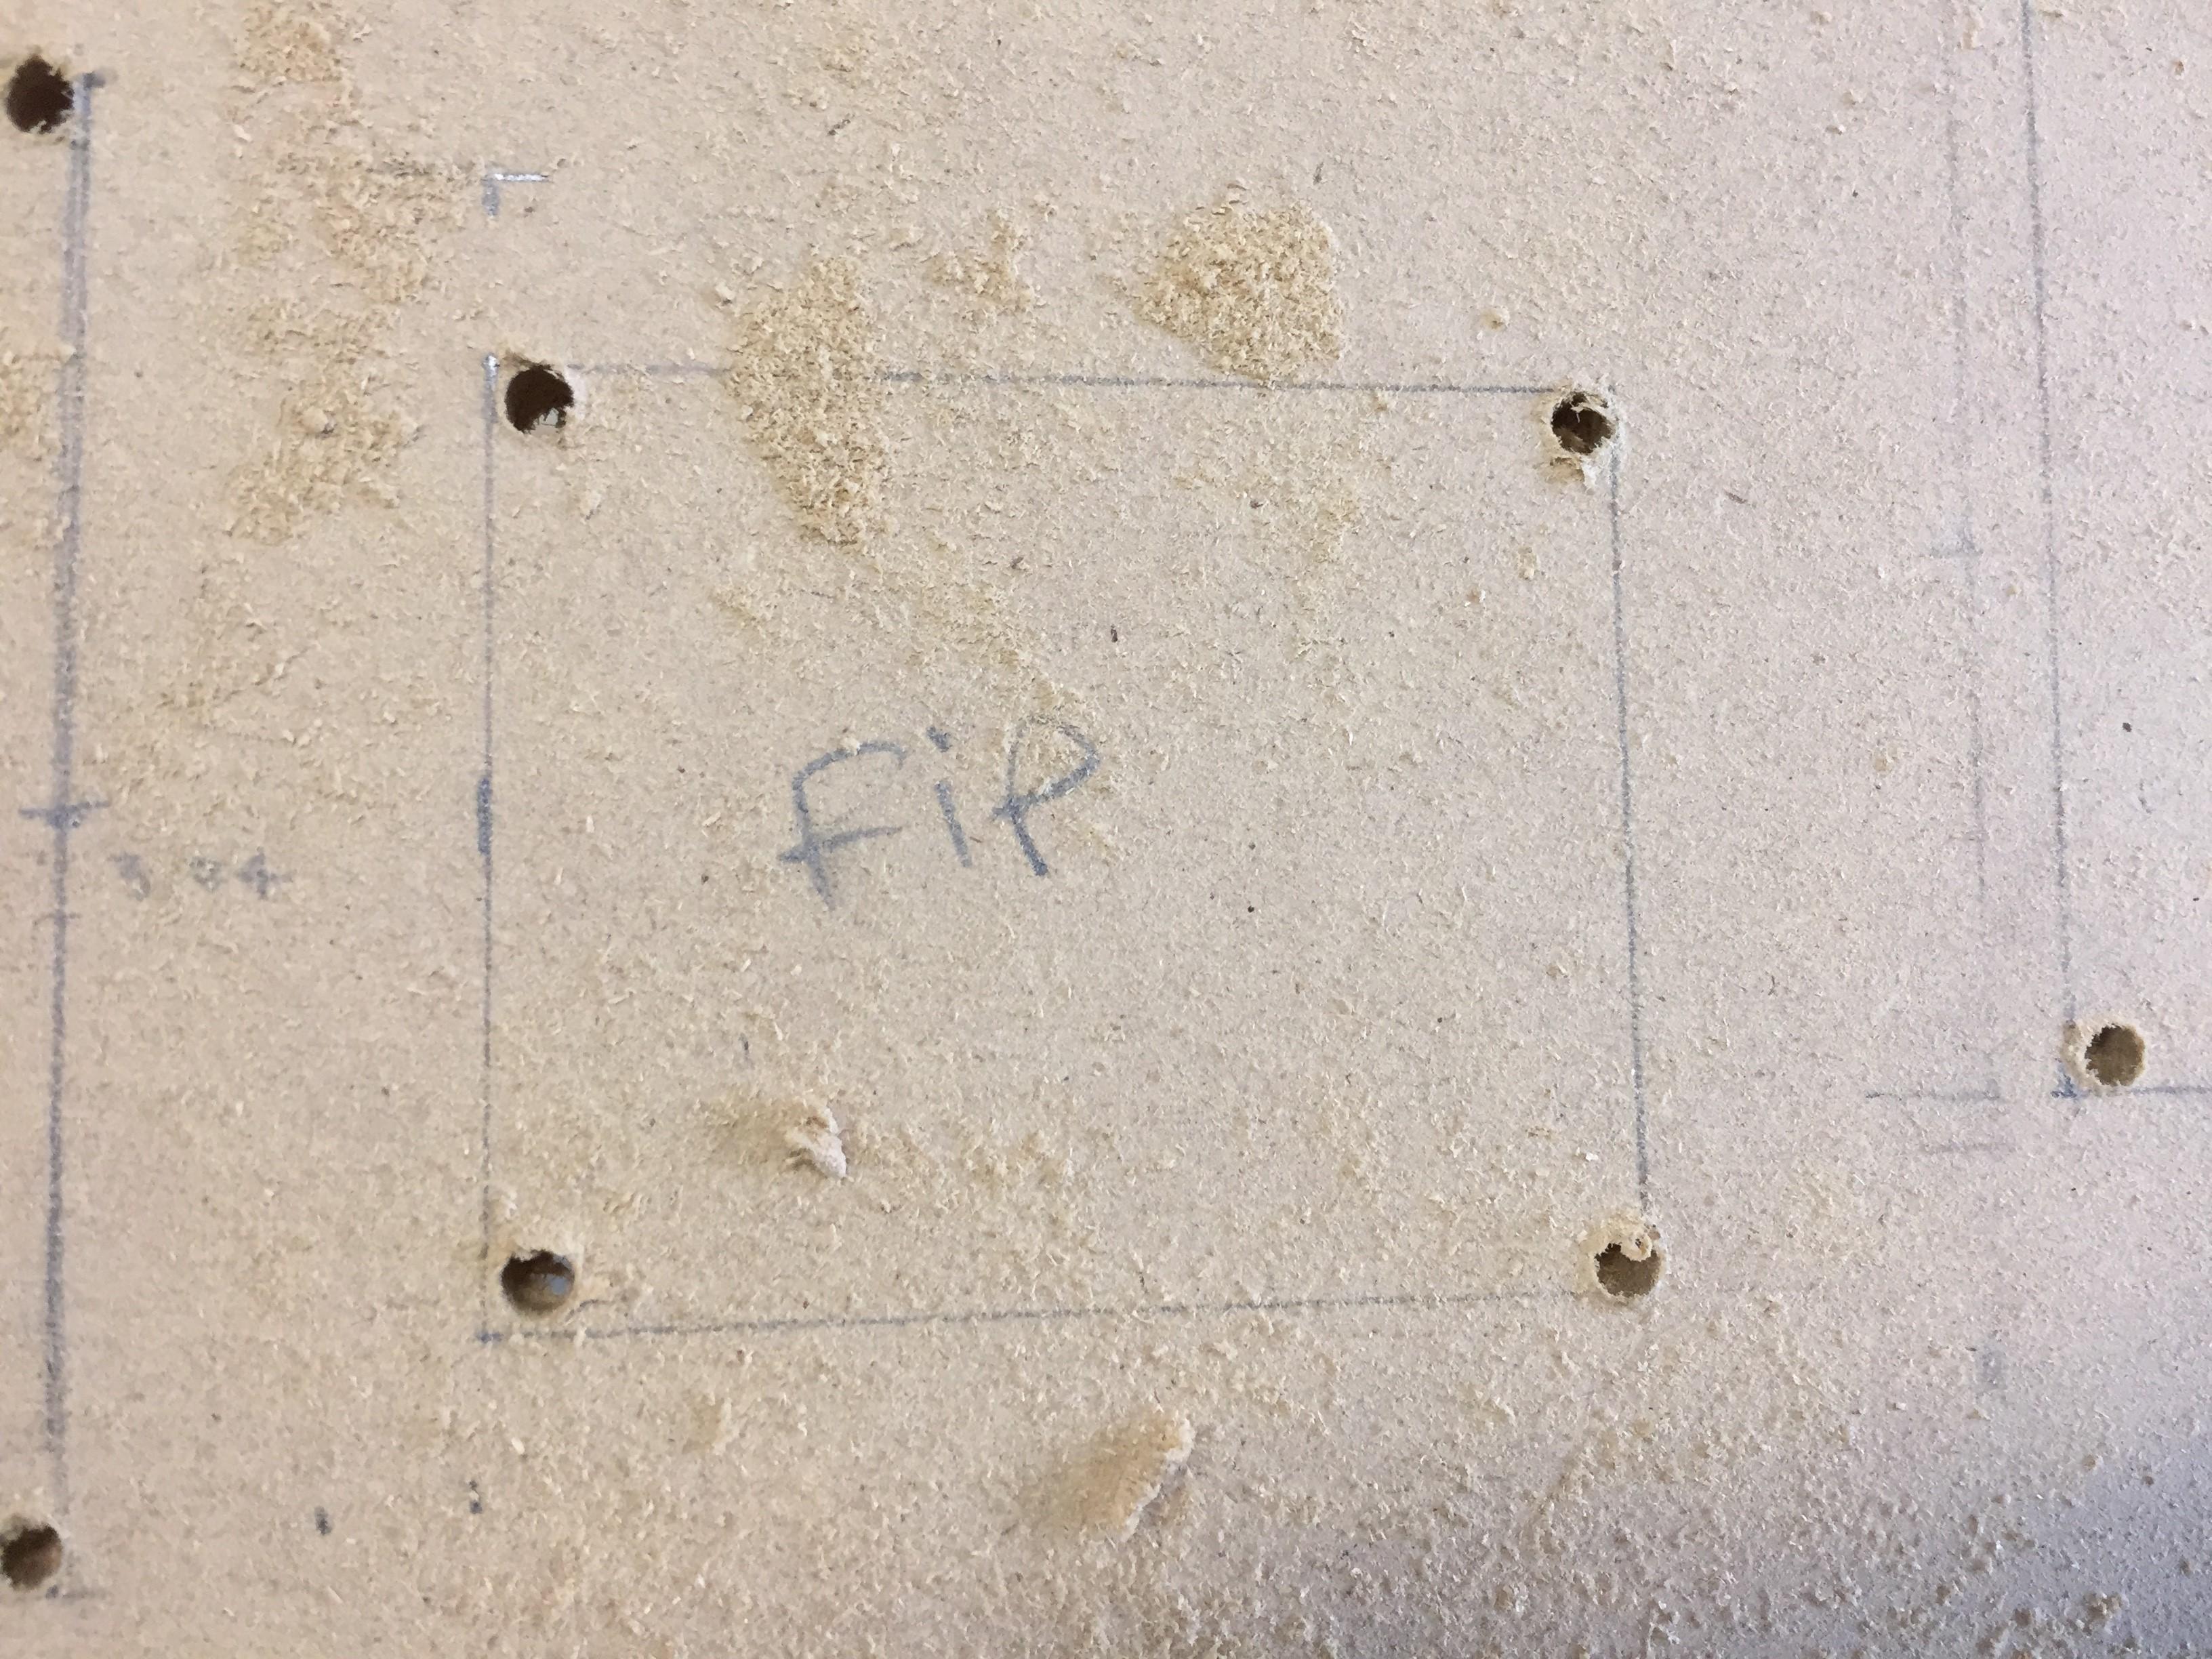
As you cut your instrument holes I suggest cutting and checking the sizing one instrument at a time. It will be a lot easier to correct a hole that is too large or too small before you make more cuts in the panel than after. Once all my instrument holes were cut, I placed each instrument that was to be screwed into place on the panel one-by-one, and used a small drill bit to drill a guide hole through the hole for the mounting screw on the instrument. As with the studs for the cabin, use a bit that is smaller than the screws you plan to use.
Finally, if you’re going to use an iPad or Android tablet for your six pack or flight display, remember to cut a hole the size of its screen and not the entire tablet, as tablets have a bezel. Also cut a hole for the home button. A 1/2-inch drill bit was perfect for mine. With larger bits like this and MDF you’ll find that a normal drill bit doesn’t cut through the MDF as easily as real wood, so you might use a concrete drill bit instead.
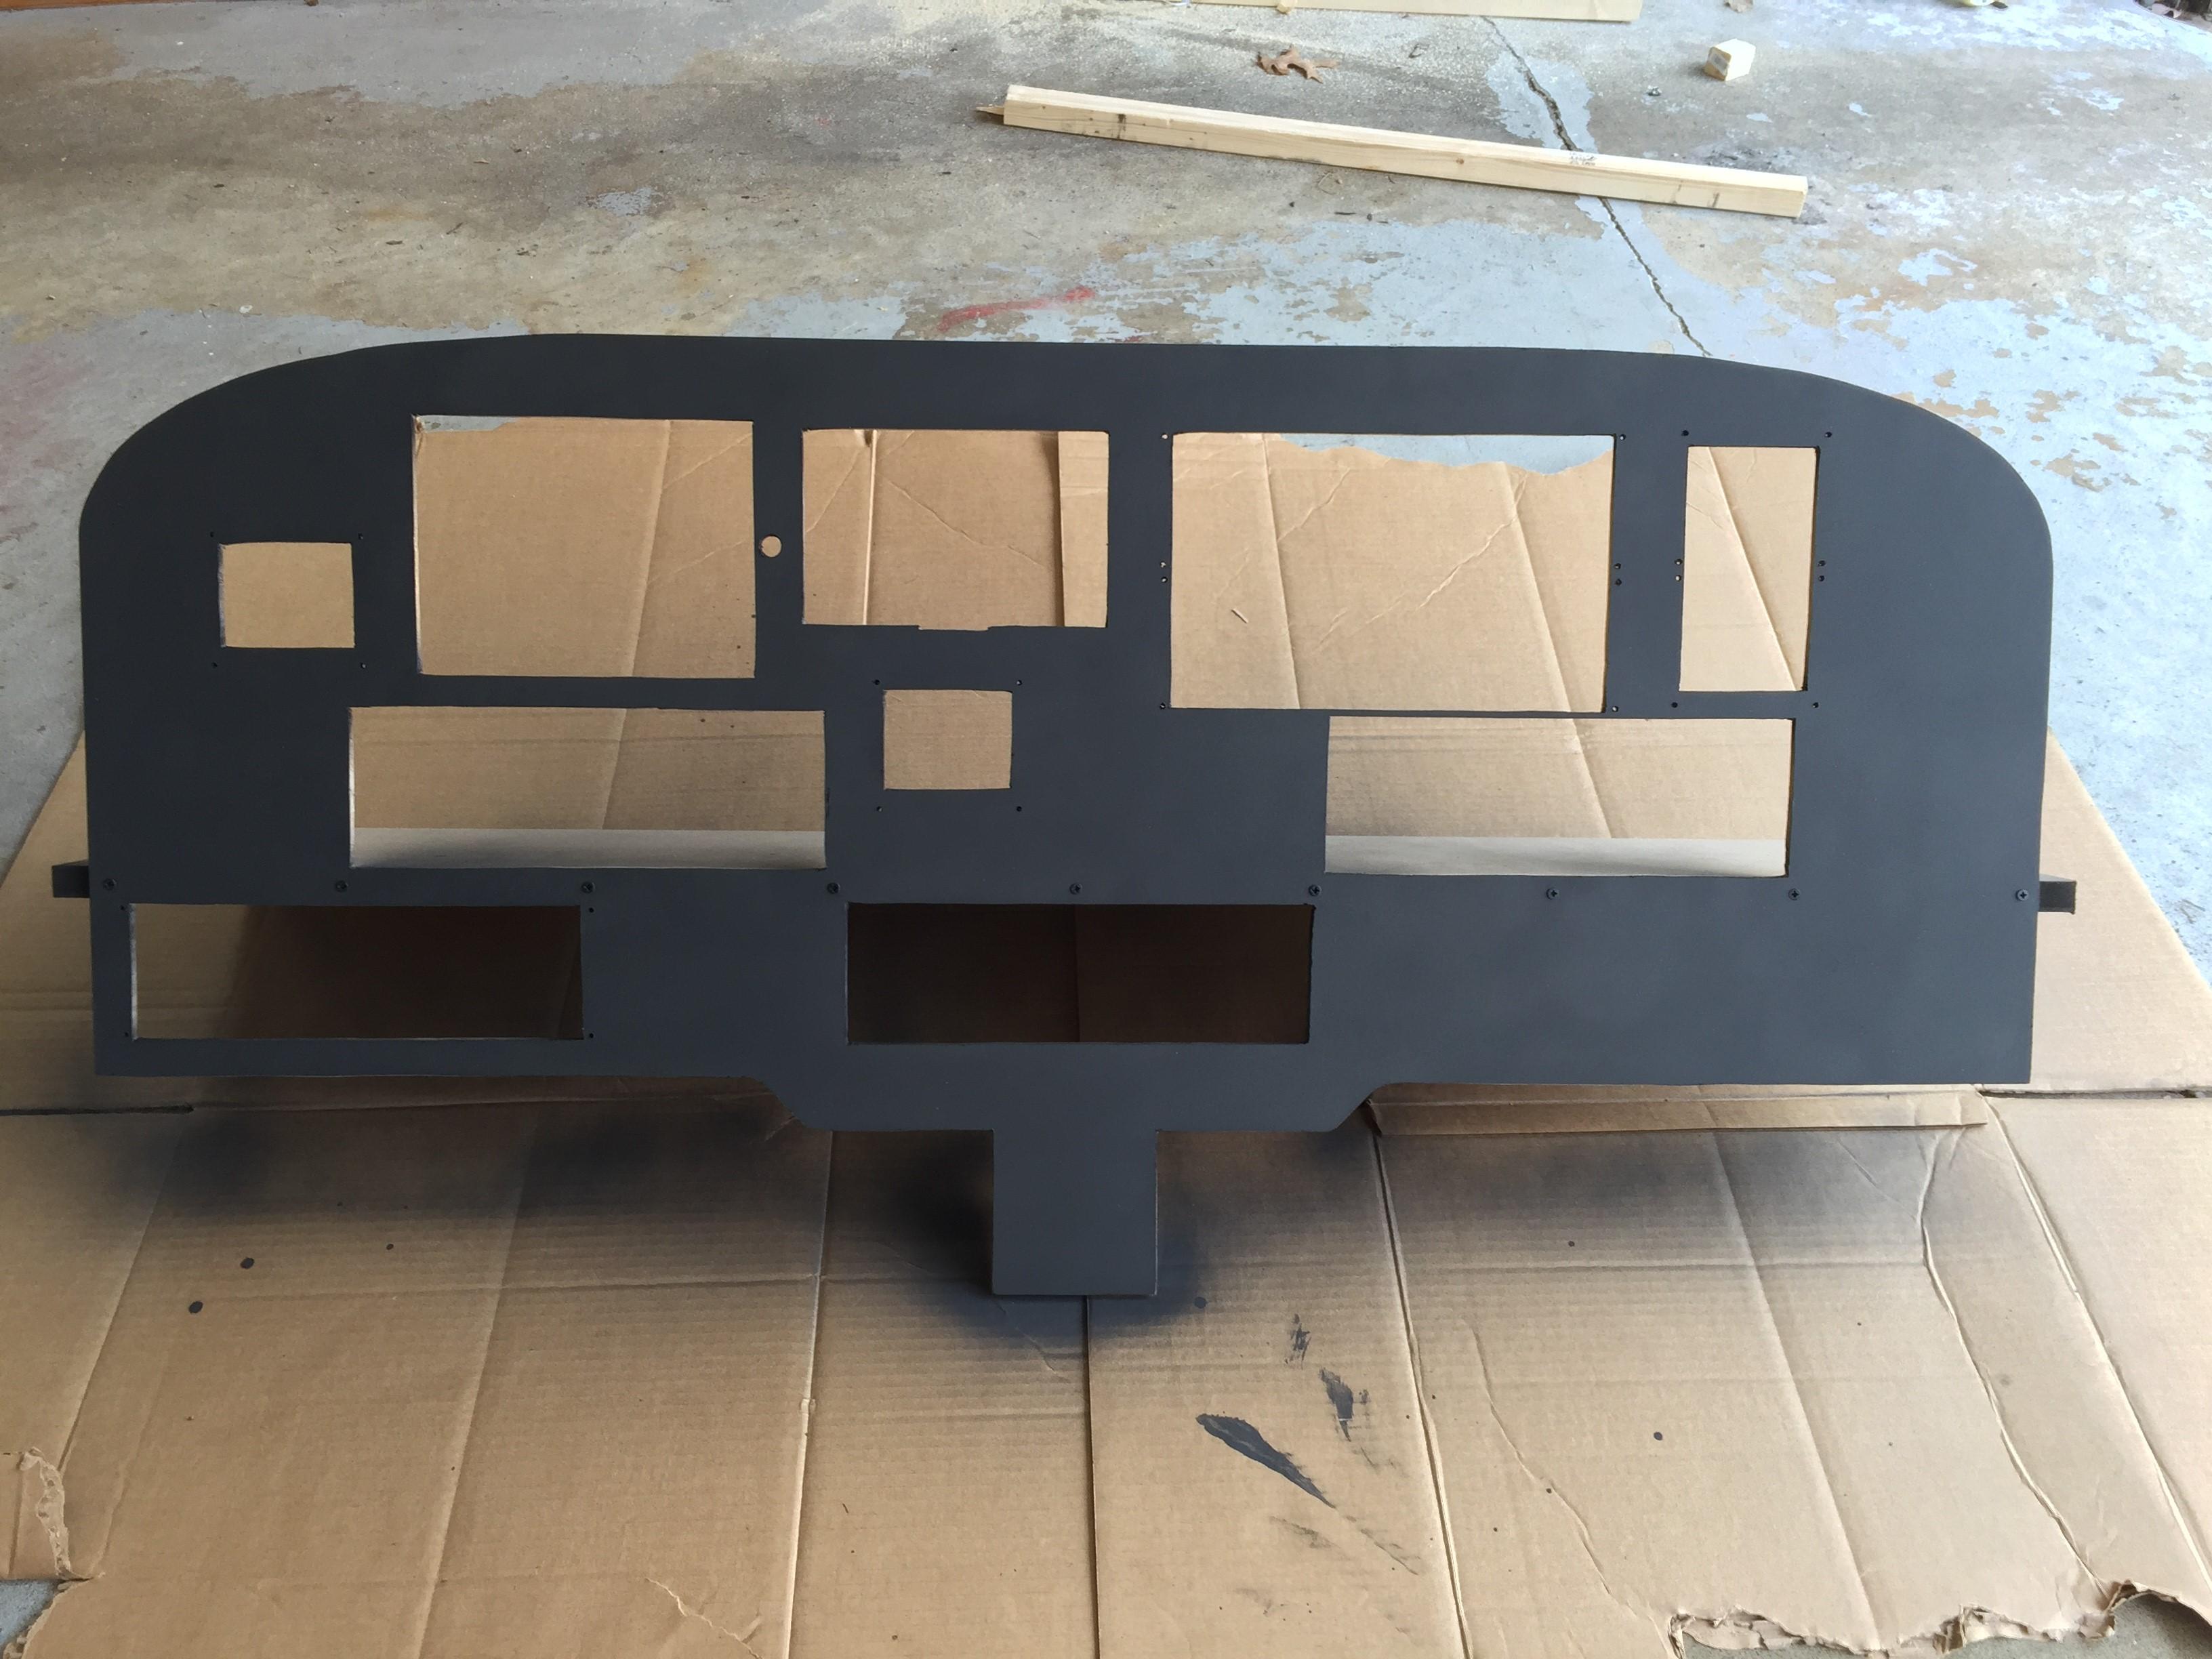
At this point I attached the panel to the panel base, using nine 1″ wood screw evenly spaced across the front of the panel (as you can see in this photo). The bottom of the base should be 4 inches / 10.16 cm up from the primary bottom of the panel (not the bulge or the tab). Again, first drilling pilot holes is a good idea as it will help your screws stay straight and seat well. Once the panel and base were attached as one unit, I then spray-painted the panel. I used a flat black paint good for wood, and I thought this looked very much like a real panel, but you may want a different color depending on the aircraft you’re trying to simulate. Paint outside and in a well-ventilated area, and give the panel time to dry.
Mounting Your Instruments
Once the panel is cut and painted, it’s time to attach the instruments and controls. I did this in the simulator room, as the panel will be quite heavy and hard to move with all the instruments attached. First mount the yokes, as they are the heaviest and may need some pushing and pulling. If your measurements are good the fit for the yokes should be snug. If they are too tight, sand the holes down a bit at the tight spots to widen them. While this may be a bit more time intensive than using the jigsaw again, your work will be much more accurate. Get the yokes in place and then put a small piece of double-sided Velcro tape (just an inch or two) between the yoke at the far end (where the USB cable is) and the panel base. Even if the fit of your yokes is very snug, a hard pull or push on the stick in flight can cause you to pull or push the yoke out of position. A strip of Velcro tape will keep it in place.
Once the yokes are in place, begin attaching the other instruments using the Saitek screws that came with the device in the case of Saitek gear, or using appropriately-sized screws for other gear. I was frankly surprised I could use the Saitek screws, but with a bit of pressure and a guide hole it worked just fine and this was true for the FIPs, Radio Panel, Multi Panel, and BIP.
N15JG On PilotEdge
April 7, 2017 at 8:30 pm #2433Participant
Deprecated: Function wp_make_content_images_responsive is deprecated since version 5.5.0! Use wp_filter_content_tags() instead. in /home/anelson/domains/ontheglideslope.net/public_html/wp-includes/functions.php on line 5414
WOW! Thanks so much for the very detailed instructions. I’m eagerly awaiting the guide book to be finished. Will probably be the best money spent on the sim. Have a great weekend and happy flying.
April 8, 2017 at 5:44 am #2436Participant
Deprecated: Function wp_make_content_images_responsive is deprecated since version 5.5.0! Use wp_filter_content_tags() instead. in /home/anelson/domains/ontheglideslope.net/public_html/wp-includes/functions.php on line 5414
Hi BFG, Thanks from me too. I thought you might be interested in my build so far. I had to reduce the file size and it looks like it may have affected the shape of the photos.
Attachments:
You must be logged in to view attached files.April 19, 2017 at 12:00 am #2544John
Participant
Deprecated: Function wp_make_content_images_responsive is deprecated since version 5.5.0! Use wp_filter_content_tags() instead. in /home/anelson/domains/ontheglideslope.net/public_html/wp-includes/functions.php on line 5414
Hello BFG,
Not to be pushy, because I’m really not being pushy, but when do you think your book will be finished?
Thanks,
John
Who’s really not being pushy… really he’s not! 😉
N916PP
April 19, 2017 at 1:55 pm #2550Keymaster
Deprecated: Function wp_make_content_images_responsive is deprecated since version 5.5.0! Use wp_filter_content_tags() instead. in /home/anelson/domains/ontheglideslope.net/public_html/wp-includes/functions.php on line 5414
LOL. Trust me, nobody is feeling more eager to get it done than me. I have had three folks review it and offer feedback, which I’ve been incorporating. There are a host of numbers I need to double check and add – some specific measurements, etc. I’m really trying to get the thing done but am doing so between other responsibilities (work, taxes, family, real flight training, etc.) …
N15JG On PilotEdge
June 16, 2017 at 2:31 pm #2777Participant
Deprecated: Function wp_make_content_images_responsive is deprecated since version 5.5.0! Use wp_filter_content_tags() instead. in /home/anelson/domains/ontheglideslope.net/public_html/wp-includes/functions.php on line 5414
Hey BFG, hope you had a great week and are looking forward to the weekend. I’ve made some great progress on my sim (pictures to follow in another post) but wanted to ask if you can recall the size (length and diameter) of the screws you used for the desktop aviator panels?
thanks as always.
** UPDATE **
It’s amazing how resourceful you become when you just want to get something done. I took one of my Desktop Aviator panels to Home Depot and determined the right size screw. I’ve decided to go with #4-40 x 1/2″ screws that came with their own nuts. The brand I’m using is Everbilt. The switch panel and flap panel both use the same size, so the 8 pack was perfect. For the fuel selector panel, I will use #10-24 x 1″ screws (they also came with their own nuts – same brand).
-
This reply was modified 6 years, 10 months ago by
Brian Hedrick.
June 24, 2017 at 2:43 pm #2802Keymaster
Deprecated: Function wp_make_content_images_responsive is deprecated since version 5.5.0! Use wp_filter_content_tags() instead. in /home/anelson/domains/ontheglideslope.net/public_html/wp-includes/functions.php on line 5414
Great! Home Depot shall provide …
N15JG On PilotEdge
-
This reply was modified 6 years, 10 months ago by
-
AuthorPosts
- You must be logged in to reply to this topic.